Guide to wire art
Wiring[edit | edit source]
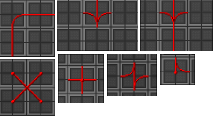
Wires are directionally dependent on where you set them down, and will apply adjacently to each "tile" you are standing by. Wires will always face inwards to you, sort of like above. You can wire both under and on top of floor tiles.
This image was made by standing in the center tile with wires in hand and clicking on all 8 surrounding tiles.
In situations where you can't wire like this you have an alternative way. Just stand on a tile, face the direction you want it to go (ctrl+arrow key) and click the tile you're standing on.
This image was made by standing on the tile, pressing ctrl + left arrow key and then clicking the tile. The wire was in my active hand.
If you ever make a mistake with a wire, use the wirecutters to trim them! Simple as that. Wear insulated gloves if you value your life.
Knot Wiring[edit | edit source]
Let's say you have a situation that you need to fix:
The easiest method of wiring is knot-wiring. Also known as unsmooth or non-smooth wiring.
Fixing this is simple:
You just position yourself properly and click the tile to wire. Make sure you click on the plating (floor) and not the already laid wires. This is because:
This might look about the same as in the previous image, however it's not. In the previous image your ending result had three pieces of wire, one going from the east to the center, one going from the north to the center and one going from the west to the center. In this situation you have two pieces of wire. One going east to west and one going north to center. The two wires don't meet in the center, because the horizontal wire is going east-west without it having a point (or knot) in the center.
Knot wires (a.k.a nodes wires) also powers any machine on the same tile as them.
Smooth Wiring[edit | edit source]
Just click on wires that are "knotted" at on one end (you just need to click on the wire, not the little knotted dot).
To fix this situation with smooth wiring you'll have to follow the steps:
In this method you first lay one cable to go from one of the directions to the center (image 1). You then position yourself in another direction and click on the already laid wire piece (and not the floor!). This will make the already placed piece and the new piece combine into one smooth piece of wiring (image 2). You then place another piece to go from the last remaining direction to the center (image 3) and click it from the last direction to make a 2nd smooth piece of wiring (image 4).
This method often uses up more wire than dot-wiring, but it's prettier and usually preferred.
Connecting Wires[edit | edit source]
Two wires belongs to the same powernet if they have matching ends.
| Connected cables | Not connected cables | |
|---|---|---|

|

|
Connecting Machines[edit | edit source]
Most machines are connected to powernets wirelessly by being in an arbitrary "area" containing a charged APC. Though some machines must be connected by having a powered wire under them.
Please note that machines must also be anchored (generally wrenched down) to be connected.
Special cases :
- APCs are connected to an adjacent knotted wire with a special terminal, by doing the cable coil step.
- SMES input powernet must be connected through a terminal, while SMES output powernet must be connected through a classic node wire under the SMES.
Wire Art Example[edit | edit source]
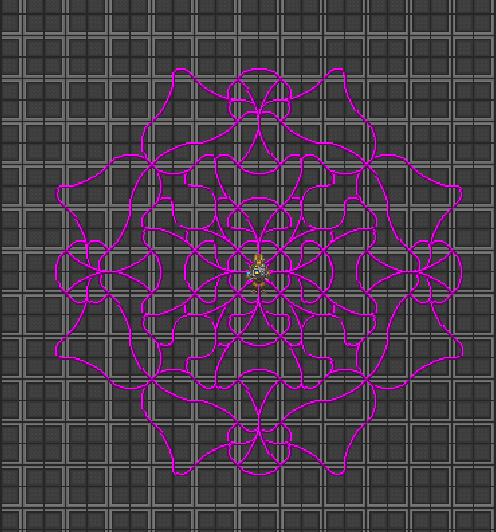
Hone your wiring skills and you might be able to make something like this one day.


