Imported from the legacy forums by Francinum, Original Author StarlessHorizon
The formatting may have issues.
Hi, I’m Starless. The on-and-off drawing guy who’s contributed to a couple projects over the years and who’s sprite quality is determined entirely by my motivation and just how sleep deprived I am at 4 o’clock at night. So let’s get you started on some resources you might need to really get a hang on how to play with virtual lego’s.
What you need:
Some sort of image editing software that specializes in tiny resolutions, or at least has the capability to. Personally I use https://www.aseprite.org/ which is an amazing software that is focused entirely on general Pixel Art. It however lacks when it comes to more advanced Tiled modes, so for that I use https://pyxeledit.com/ which overwhelms with its ability to mirror tiles and drag them around the environment to really fine-tune them. Though this software is generally unintuitive and kind of a pain to use for anything else. However both of these software’s are premium which requires buying them. I don’t recommend that if you’re just getting into Pixel Art. So we’re going to go with how I first started out, even if it might not be the best freeware software out there for this.
https://www.getpaint.net/download.html is a free software supported entirely on donations. Think of Windows Paint, but more advanced and has the capability to add layers, which will be really important later on. This is all you will really need to draw pixel art until you want to splurge on your new found hobby. The only real downside to Paint.Net is it does not allow you to copy and paste your selections directly into Dream Maker while retaining transparency, so keep that in mind. Go ahead and download that if you don’t already have your own preferred drawing program.
(Special mention towards Dream Maker’s in-built drawing capabilities which you will eventually have to tackle. I do not recommend using this for drawing because it is honestly garbage, though they have updated the visuals over the years. Avoid at all costs and just paste in your sprites from other programs.)
Before you draw:
Most sprites you see in SS13 exist within resolutions that are multiples of 32. The average tile is 32x32, as are most character sprites which fit neatly on say a metal floor plate, or a chunk of carpet. The exception to this is when sprites need to go big. Take for example the Syndicate Patrol Cruiser I drew:
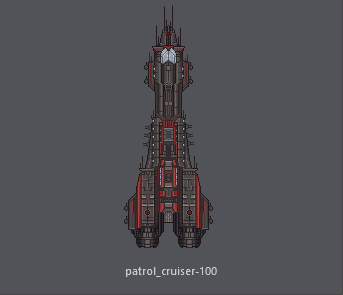
While the ships actual size is 89x243 pixels, it exists in a single DMI with the resolution of 256x256 with most of it being blank transparent space. The reason for this is because the sprite needs to align with Byond’s tile system. As mentioned before, each tile tends to be 32x32 and if you tried to make a sprite that has different resolutions to it you might find it being misaligned and not fitting properly. So make sure you prioritize what resolution you want your art to be well before drawing it.
As an example, here are the multiples. 32x32, 64x64, 128x128, 256x256, 512x512, etc.
You should try to draw pixel art for byond with those resolutions, though that’s more of a guideline than anything.
Getting started:
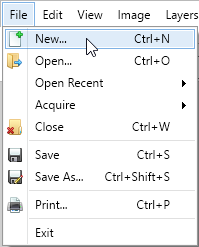
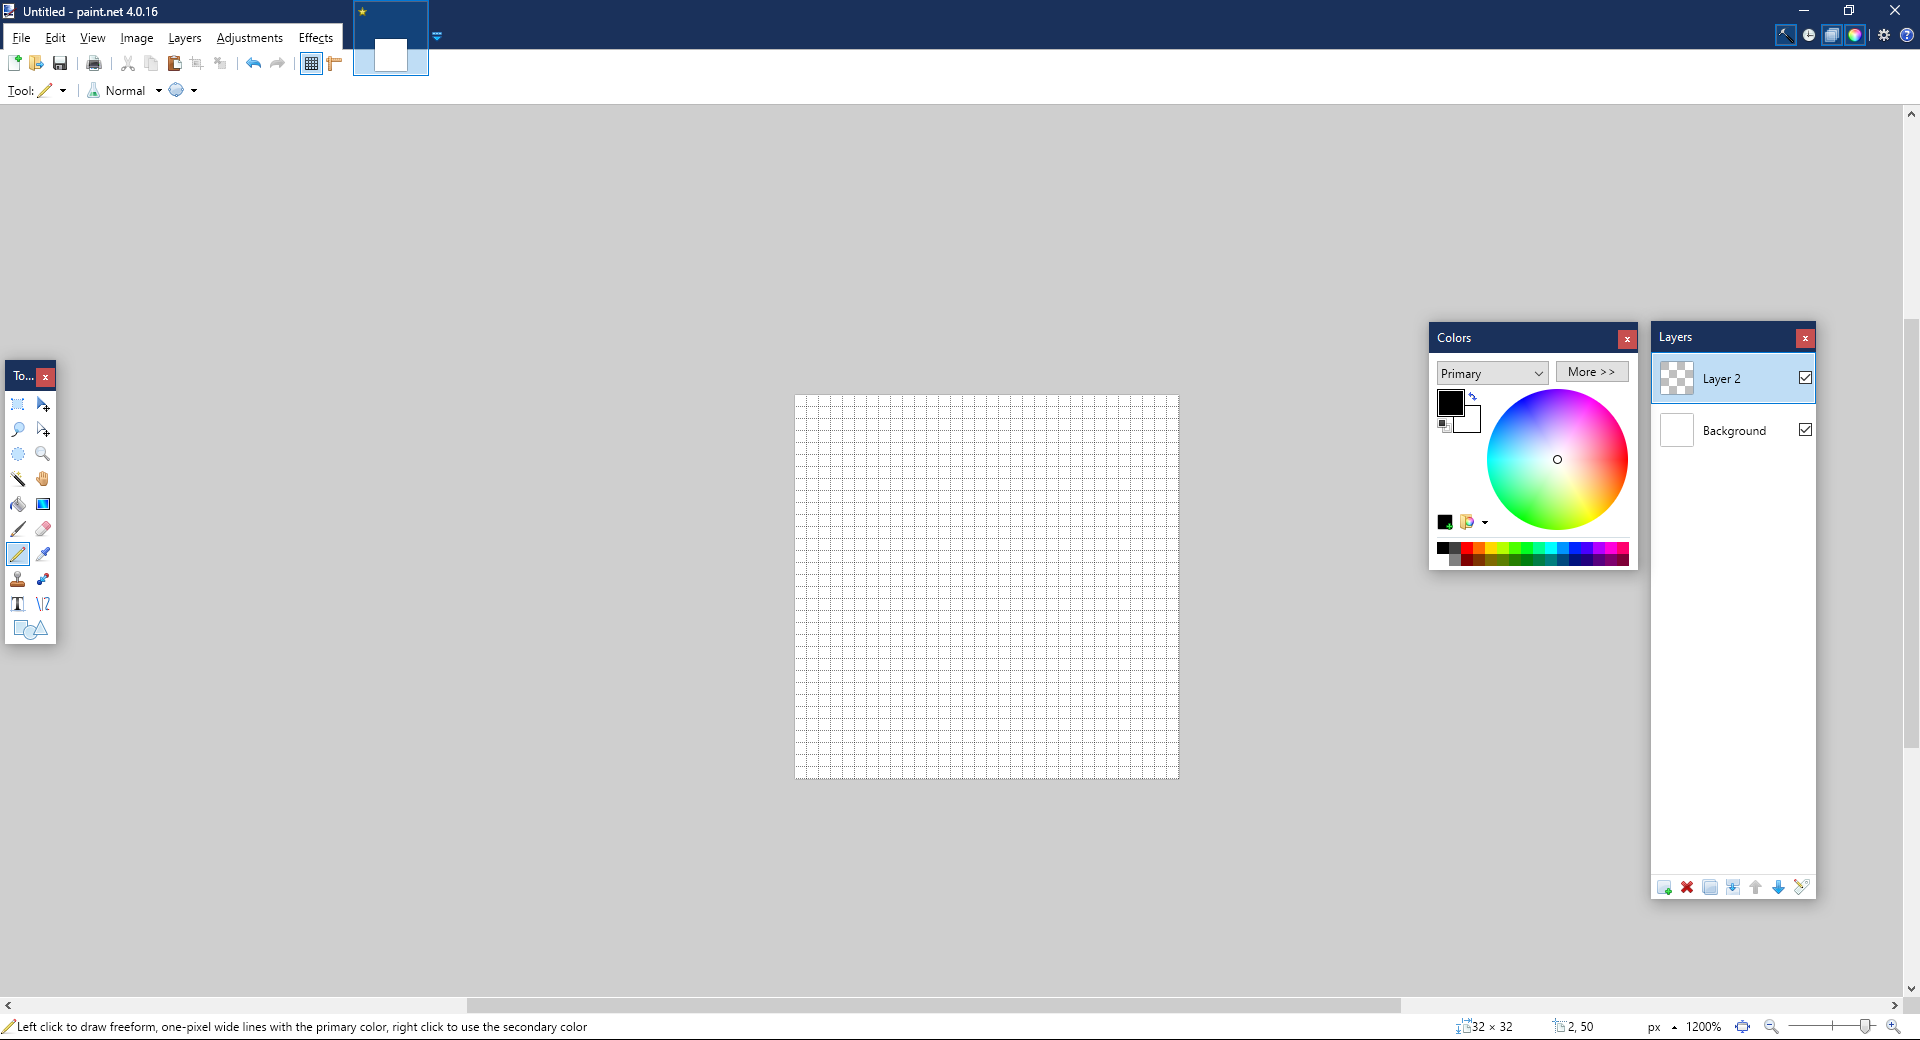
When opening Paint.Net you’ll be greeted with this screen.

What you should do first is go to the top left and click File then New… and set the resolution. Here we’ll start off with 32 Width and 32 Height, 32 x 32:

Go ahead and click OK and you’ll be greeted with the screen bellow.

Notice how the white box has gotten smaller? 32x32 makes for a really tiny image.
Pixel art focuses on taking advantage of every pixel on your screen. Treat it as a game of Lego to really understand it well. You are taking coloured blocks and arranging them in a way that almost vaguely looks like an object. I see most people who are new to drawing this way make the mistake of trying to paint instead of arrange. Each pixel is precious and you should limit how many colours or shades you use to a small pallet. This allows you to really memorize each of them and easily allows recolouring. You will reach a point where just one tiny dot on your screen being out of place will be a blemish that needs to be erased. That is one of the key differences between Pixel Artists and Painters.
Go ahead and zoom in now using the slider at the bottom right, or hold CTRL and use the scroll button on your mouse.
![]()
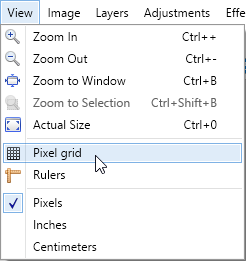
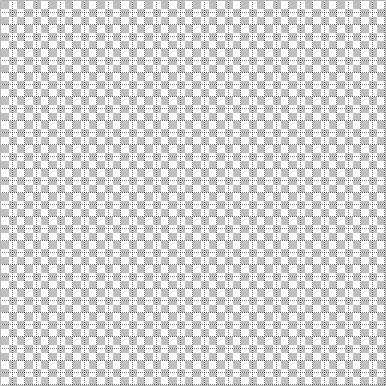
So now we get to the pixel art stage. Paint.net has a specific grid setting that outlines each individual pixel to make it easy to identify them. When you become familiar enough you won’t need this setting. But to help you begin, I’d advise turning it on. In the top left click View and select Pixel Grid.
At 1200% zoom this is what your blank canvas should look like now:
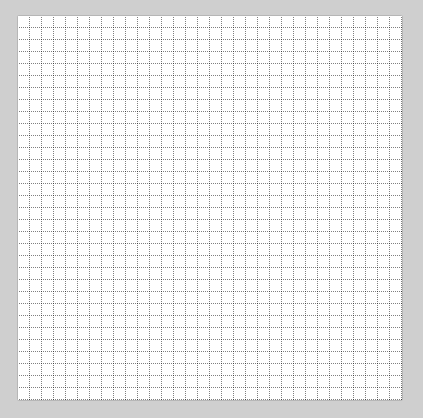
Each pixel is now outlined which lets you understand the resolution and where you can draw. Personally I find this really distracting and makes it harder to see how the art looks. So I’d suggest turning it off now and again and zooming in/out to see how your art looks.
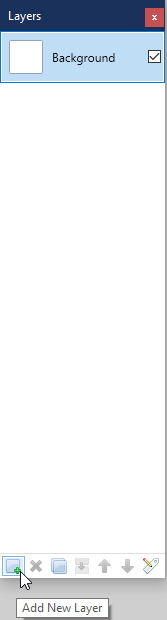
Now, find your Layers window and add a new layer.
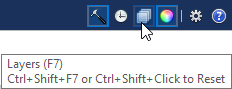
If you can’t find your Layers window then try clicking the icon at the top right to summon it.
Assuming you clicked Add New Layer you should see a new layer. In this case, Layer 2.
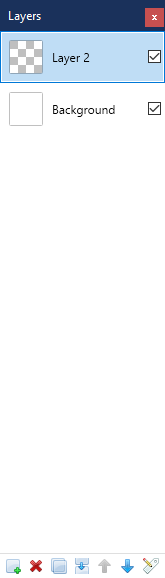
Think of layers like different stained glass windows. You can pile them on top of each other as much as you like. The one at the top, layer 2, always blocks out the one bellow it, Background. Keep this in mind going forward, as it will allow you to add different sections to an image without needing to really change the entire thing.
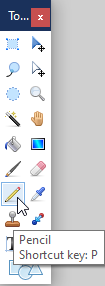
Now, I need you to go to the Tools window and select the Pencil Tool. This will allow you to draw with individual pixels.
Now we are ready to move onto the drawing section.
How to Draw:
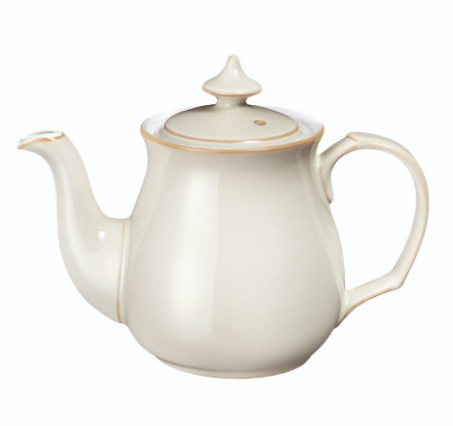
This is largely a subjective paragraph. Part of me wants to say do what you like, maybe look up some guides on youtube to see how people draw. But I think I should include some stuff here for the sake of adding to the guide. After all it is about drawing. So, let’s start off with an idea. I think I’m going to draw up an NT Teapot. Why a Teapot you ask? Why not, I say. The Captain should never be without his blend of Nanotrasen Synthetic herbs now, should he?
First advice: Look up a real world image on google. Find one you like and have it as the base for your inspiration. For legal reasons I advise not to copy it exactly! It still might not stop Nintendo from DMCA’ing you, however.
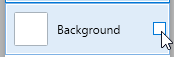
Now, i’m going to delete or make the background layer transparent just to make working on a white sprite a little easier. You can do this by clicking the Box with a Tick to hide it.
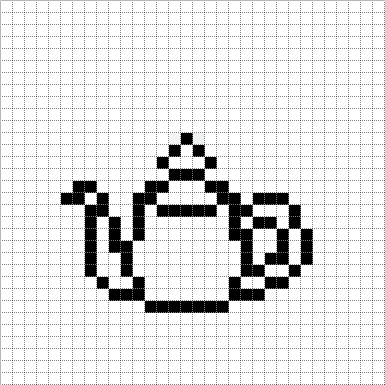
Now let’s start drawing. First I’m going to get the basic shape right. I like to just do an outline in black at first and scrutinize it for a good couple minutes before moving to the next stage.
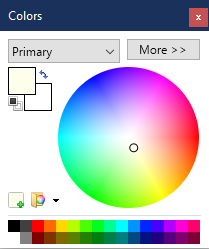
By this point I feel like colouring it in. You can do this on a new layer, but personally I like to stick with the one layer for this part. Makes it less tedious when I don’t have to switch between them. I go ahead and select a colour from the colour wheel.
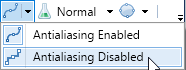
Now, if you end up using the Fill tool at any point then make sure antiliasing is off. Otherwise the colour will bleed and blur and it will mess with your pallet. Turn it off by pressing the icon at the top right.
With that out of the way, back we go to drawing.
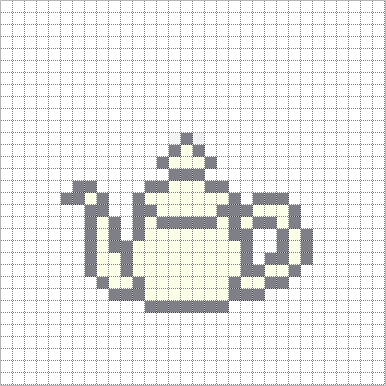
With the inside filled out It’s now time to colour the outline. A general rule of thumb with SS13 outlines is make it the same colour as the inside of the object, just a bit darker. Bonus points if you know basic colour theory and change the hue to give it that more artistic flair.
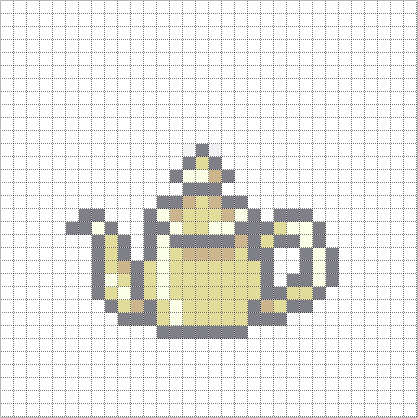
Some more shading. I actively update the look of the pot as I move onto each stage, correcting any issues I see with its design along the way.
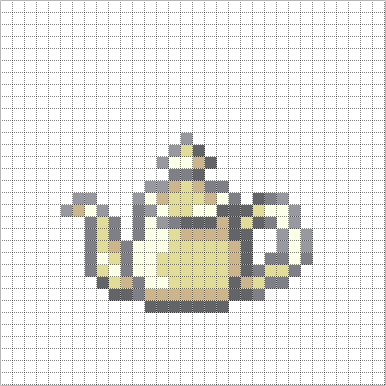
Scrapping the old shading style since it made the pot look flat, I eventually went ahead and made it so the the light source is behind the camera. So light reflecting off the pot would be in the middle of it, instead of to the side. Doing that, I also added the Nanotrasen logo on top of it.
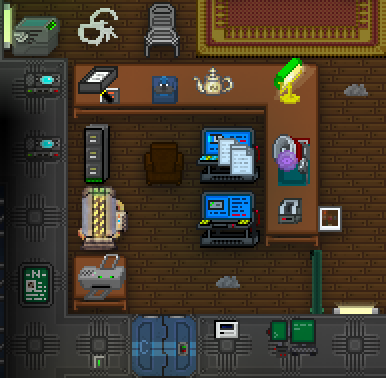
And bellow we can see what it would look like in game, courtesy of a round of Paradise Station where it seems the captain got up to some funny business, if those zipties are any indication. The second tip I have is to take a screenshot in-game and then use that as your sprites background. It really helps to let you know if it would fit in with the art style.
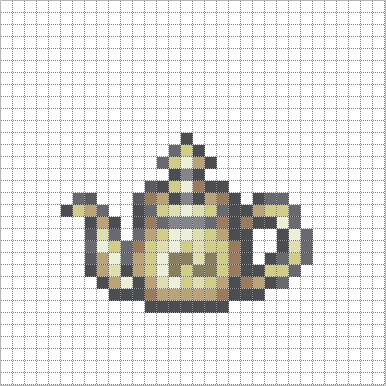
There you have it. The captains personal golden tea pot that he bought at 2am on black friday three years ago and has never used because his office does not have a kitchen stove in it. It makes a great paperweight and traitor objective, however. Though I should probably have worked on the outline a bit more. Maybe by making it more in line with the rest of the colour scheme. But for now it will do.
How to export:
Next up we want to turn the Pot into a .DMI file type which Byond uses. To do this I generally like to create a new text document and rename it. Instead of it being (name).txt change it to (name).dmi and it will change accordingly.
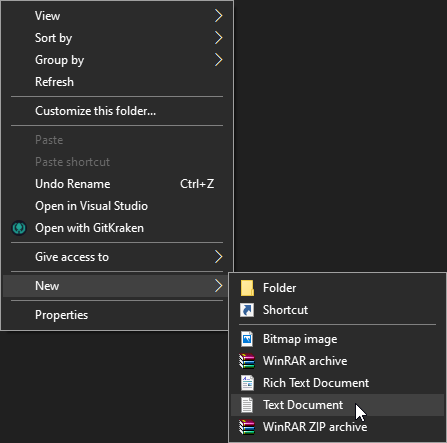
![]()
If you used Paint.net there is an issue that makes the sprite lose transparency when selected and copy/pasted into the DMI. So we’re going to have to do it the old fashioned way.
Delete the background layer and click File then select Save As. Then simply pick a name, such as TeaPot. Change the file type to png: TeaPot.png for example. Save in an easily accessed location. and make sure to flatten any layers if it asks you.

Now open (name).dmi and you’ll be greeted with a screen something like this.

To add your png click Graphic in the top left and click Import
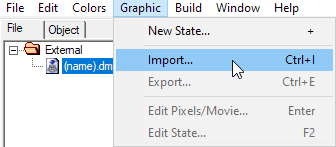
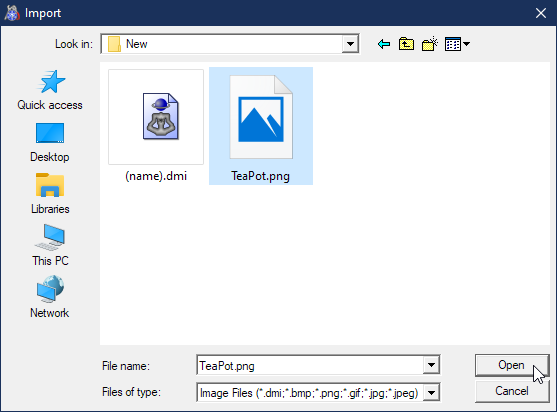
Now select your png and click Open.
Now you have imported your PNG. It’s now located in the DMI proper so you can edit it now with Dream Makers built-in tools. I don’t want to go over everything it does, so I’ll just list the notable ones. Double click your new icon and you’ll enter the screen bellow.
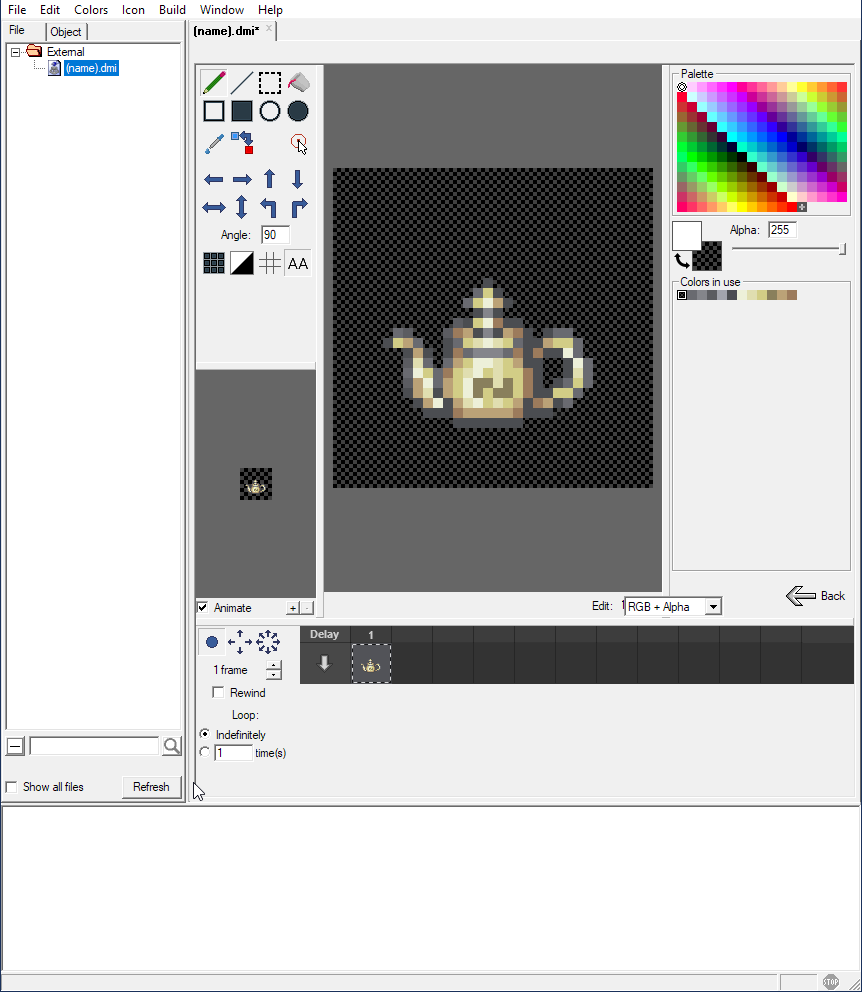
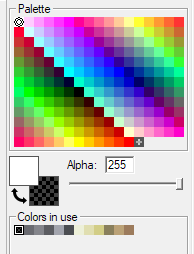
The bellow section allows you to edit the colour pallet. Turning it from a golden pot to a green one, if you want. Mainly by editing the existing colors to a different variable. This is DMI-wide, so editing the colours of a single state changes everything inside of the file. Which can be great when there’s a billion states that would need to be edited.
Bellow is the state section. It allows you to create a new frame that can act as an animation. You can change how many frames is in a single animation loop and you can change how long each frame persists before moving onto the next one. bellow is specifically the one direction circle, which is essentially ‘always show this state no matter what way I face’. Normally used for dropped items that are on the floor, or special effects.
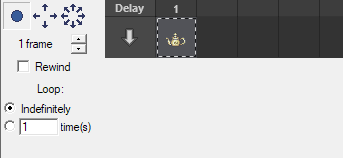
Bellow is four directions, each representing a facing direction. North, south, east, west. You would use this for clothing. You can completely ignore the 8 direction option, nothing uses it that I know of.

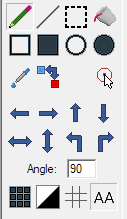
Bellow lets you move the sprite around, edit it. Don’t even think of using this as your main drawing software it’s twenty years old despite the visual upgrades and its age shows due to the fact it does not support layering.
Alright, now if we hit back we can return to the main screen.
![]()
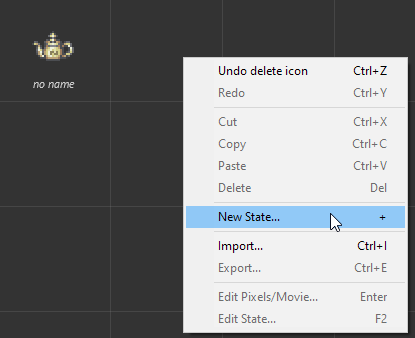
From here you can create a new state. What these would be used for is different movement animations, or ‘states’ as the name goes. Maybe your clothes are damaged - No need for a completely separate DMI for that. You can add damaged versions directly into the DMI if the game supports it. It also allows for body animations, such as swinging a weapon or leaping across the environment. Anyhow, Just Right Click and select New State to do it.
And that’s all you really need to know. Or at least, all I’ve ever cared to. You can go ahead and save any changes you’ve made to the DMI by hovering over the top left and clicking File and then Save As teapot.dmi for example.
[color=#BF0000]Special mention:[/color]
[color=#BF0000][b]Make sure the name is in all lower letters.[/b][/color] Most projects don’t like it when you mess with the standard, got to keep everything organized. So try not to use any capital letters in your exported DMI’s.